A good sewing kit is not the one with the most in it. It is the one where you can lay your hands on a needle, a matching thread and something sharp within thirty seconds of spotting a split seam. Most beginners buy a ready-made kit in a moulded plastic case, use three things from it, and lose the rest down the side of the sofa. What follows is the short list of tools that genuinely earn their place — the ones you will reach for when a button pops off a coat, a hem drops on school trousers, or you fancy making a cushion cover on a wet Saturday afternoon.
Needles, Pins and Thread
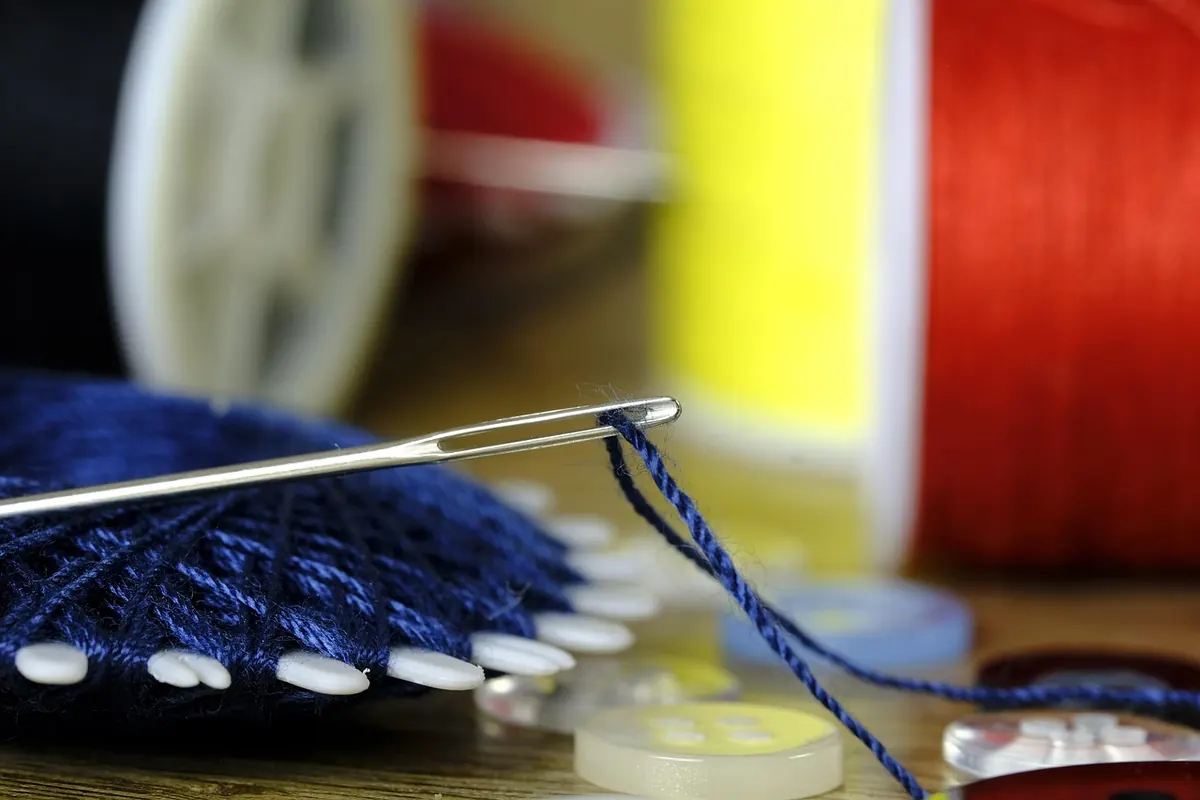
Everything starts here. A mixed pack of hand-sewing needles costs very little and covers most jobs: sharps for general stitching, betweens for finer work, and a couple of embroidery needles with a larger eye if you plan to use thicker thread or wool. Buy two packs rather than one. Needles bend, blunt and vanish into carpets, usually mid-project.
For pins, choose glass-headed or flat-headed pins instead of the cheap plastic sort that melts the moment an iron goes near them. A small magnetic pin dish or a pin cushion keeps them corralled while you work, which matters more than you would think. Dropping pins on the floor and finding them later with a bare foot is a rite of passage you can easily skip.
With thread, buy polyester all-purpose rather than the bargain reels that snap and fray in the machine. Start with black, white and a mid-grey, then add navy if you sew much dark clothing. For a particular project, take a scrap of the fabric to the shop and match the thread against it in daylight — thread that looks right under shop lighting can look noticeably wrong at home. When in doubt, go a shade darker rather than lighter; it blends better.
Cutting Tools
One decent pair of fabric scissors, somewhere around 20–23cm, will do more for your sewing than any gadget. Two rules keep them working: cut fabric only, and keep them out of reach of anyone who might grab them for paper or wrapping. Paper blunts an edge surprisingly quickly, and sharpening scissors properly is not something you can do with a kitchen steel.
A small pair of snips is the second cutting tool worth owning. They live next to the machine for clipping threads, trimming seam allowances and tidying curves, so you are not constantly picking up and putting down the big shears.
Then there is the seam ripper. Nobody enjoys unpicking, but you will do plenty of it, probably on your very first project. A sharp ripper with a fine point slips under stitches without gouging the cloth. Pinking shears, which cut a zigzag edge to slow fraying, are a lovely later purchase rather than a starter one.
Measuring and Marking
A soft tape measure, 150cm, with centimetres on one side and inches on the other, is essential for anything involving a body or a curtain. Check yours against a rigid ruler now and then — cheap tapes stretch, and a stretched tape quietly ruins hems.
For marking, keep tailor's chalk in both a light and a dark colour, or a water-soluble fabric pen. Always test a pen on an offcut first, especially on dark or delicate fabric, and follow the maker's instructions for removing the marks before you press anything.
A 30cm clear ruler beats an opaque one because you can see the fabric underneath while you square up a corner. Add a seam gauge too — that small sliding metal ruler with a movable slider. It looks like a novelty, but it is the quickest way to turn up a hem to an even width all the way along.
Small Items That Save Time
A needle threader is worth the few pence it costs, particularly in the evening when the light is going. A thimble protects your middle finger when you push a needle through denim, canvas or several layers of seam. Bobbins to match your machine mean you are not rewinding the same one every ten minutes, and a spare pack of machine needles in the sizes you actually use stops a broken needle from ending the session.
Safety and Comfort
Keep a few plasters in the kit. Pins and needles draw blood, and it is far easier to deal with a small prick than to hunt through a bathroom cupboard.
Have somewhere to put sharps that are past their best — an old tin with a lid works well. Bent needles and used blades should go straight in, not loose into a wastepaper bin. If you sew around small children or pets, get into the habit of sweeping the floor with a magnet or a torch at the end of a session. And try not to hold pins between your lips while you work; it is a common habit and a genuine choking risk.
Lighting and posture matter more than beginners expect. An adjustable lamp you can angle over your hands makes dark thread on dark fabric far less tiring, and sitting at a table of sensible height stops you hunching. If you are setting up a sewing machine for the first time, read the manual properly rather than guessing, and if anything about the electrics worries you, have it checked by someone qualified instead of hoping for the best.
The Checklist: 15 Essentials
- Mixed hand-sewing needles — sharps, betweens and one or two large-eyed needles.
- All-purpose polyester thread — black, white, mid-grey, plus navy if you need it.
- Glass-headed pins — not the meltable plastic kind.
- Safety pins — small and large; invaluable for threading elastic and holding layers.
- Fabric scissors, roughly 20–23cm, used for cloth only.
- Small snips for clipping threads at the machine.
- Seam ripper with a fine, sharp point.
- Soft tape measure, 150cm, metric and imperial.
- Clear 30cm ruler for squaring up and marking straight lines.
- Seam gauge for even hems and seam allowances.
- Tailor's chalk or a water-soluble fabric pen, tested on a scrap first.
- Thimble that fits your middle finger comfortably.
- Needle threader — a small thing that saves real time.
- Bobbins to fit your machine, plus a spare pack of machine needles.
- A lidded tin or box — for storing the kit and for retiring blunt or bent sharps.
Storing the Kit and Building It Up
You do not need a specialist sewing box. A sturdy tin, a small toolbox or a clear plastic box with a lid all work, as long as it shuts properly and has room for a little growth. Keep the things you use most — needles, pins, thread, snips — in one layer on top so you are not rummaging every time you sit down. Everything else can go underneath.
From here, add tools as the projects ask for them. If you start quilting, you will want a rotary cutter and a cutting mat. If you take up dressmaking, a dressmaker's dummy and some proper pattern weights will earn their space. But a beginner with needles, thread, good scissors, a tape measure and a seam ripper can already mend, alter and make a surprising amount. Start there, keep it tidy, and let the kit grow alongside your confidence.
Photo: Bru-nO / Pixabay